Вчера докато преглеждах YouTube се вдъхнових от видео в този канал -
My Simple Little Pleasures. Видеото, което ме вдъхнови е ето този урок за воден маникюр -
цък. След като го видях и направих няколко теста ми дойде идея, която комбинира идеи от това видео и от ето това -
цък.
Какво ви трябва - много малък уред за точки, с който рисувах шарките във водата, дървен уред за избутване на кожички (послужи ми за почистване на лака във водата), чаша пълна с вода със стайна температура, тиксо и лакове (Brooklin 3, China Glaze Flyin' High и Essie Borrowed and Blue).
....
The video that inspired me was this -
click. After I saw it I make some test water marbling and came up with idea that combines this video and another video from the same channel -
click.
So these are the tools and nail polishes that I used - extra small doting tool (I draw with it in the water), an orange stick (to remove the extra polish in the water), cup with room temperature water, scotch tape, Brooklin 3, China Glaze Flyin' High and Essie Borrowed and Blue.
1. Сложете база за нокти и един слой светъл лак. Аз използвах за база Orly Bonder и един слой от Brooklin 3.
....
1. Apply base coat and a coat with light nail polish. I applied one coat of Orly Bonder and one coat
Brooklin 3.
2. Облепете пръстът, който ще потапяте във водата с тиксо. Така ще предпазите част от кожата от лака.
....
2. Tape your finger like this so you can clean easier your fingers after the marbling:
3. Започнете да слагате близо до водата капки от лака като редувате двата цвята.
....
3. Start putting drops of polish alternating the colors like this:
4. За първия вид шарка трябва леко да се издърпа лака от средата до единия край и от средата до противоположния край.
....
4. For the first type of drawing I start to drag the polish from the center to one side and then from the center to the other side:
5. След това трябва да се дръпне лака от ляво на дясно и след това близо до предишната шарка трябва да се дръпне лака от дясно на ляво, за да се получи ето това:
....
5. Then I drag the polish first from the left to right and then close to the first dragging from right to left and in the end I had this:
6. Бавно сложете пръста във водата.
....
6. Slowly put your finger in the water.
7. Докато пръстът е във водата с дървения уред за избутване на кожички изчистваме повърхността на водата от излишния лак.
....
7. Clean with an orange stick the water surface from the nail polish.
8. Бавно изваждаме пръста от водата.
....
8. Slowly pull out your finger.
И ето непочистения краен резултат:
....
And this is the final unclean result:
Направих безименния пръст и палеца различни.
9. Изтеглете лака от едната страна към центъра и след това от противоположната страна към центъра.
....
I made the ring finger and my thumb different.
9. Start dragging the polish from one side to the center and then from the opposite end to the center.
10. Повтаряме предишната стъпка, но този път започваме от ляво и от дясно към центъра. Когато цветето е готово, потапям уреда за точки за да обера част от лака в средата и да оформя добре цветето.
....
10. Repeat the previous step but this time drag from left to the center and from right to the center. In the end dab the dotting tool in the middle of the flower so the extra polish to be removed and to have clean well-formed flower.
10. Отново бавно се слага пръстът във водата, така че цветето да бъде в центъра и бавно се изважда след като е изчистена повърхността от лака.
10. Again slowly put your finger so the flower is in the center of your nail and slowly pull it out after cleaning the water from the extra polish.
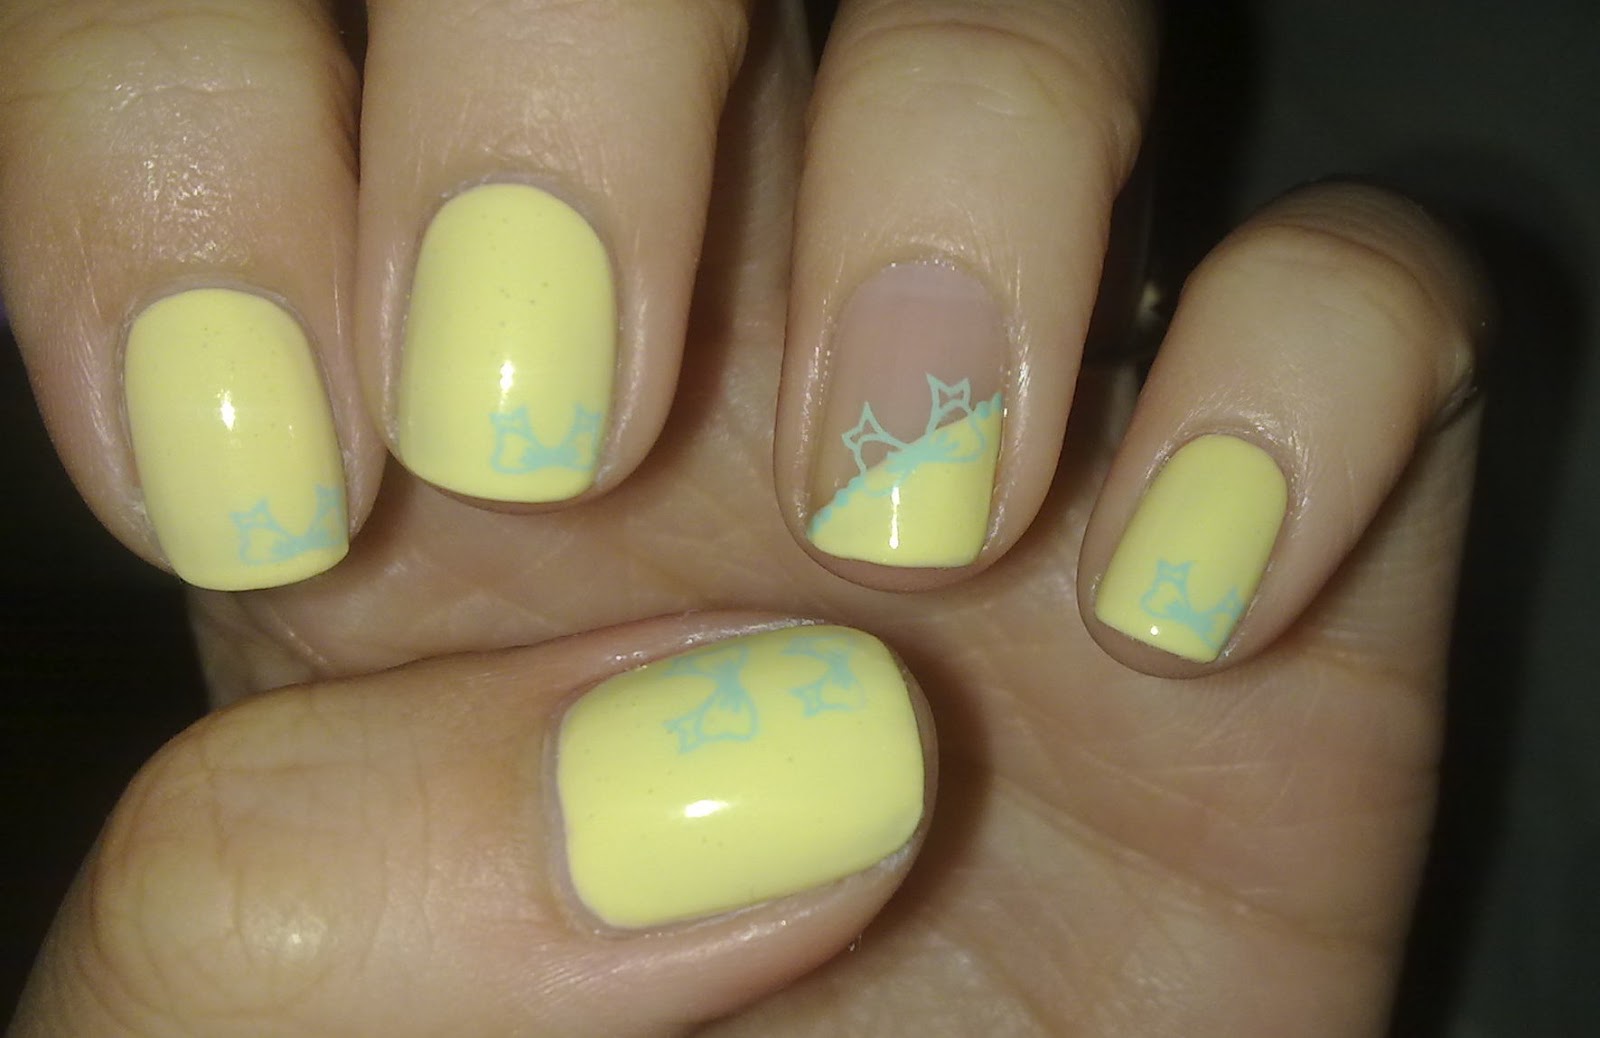
И ето най на края финалния резултат след почистването. Извинявам се за сухите кожички на първите снимки, но това е заради лакочистителя.
....
And finally this is the final result after the cleanup. I'm sorry for the dry cuticles in the first pictures but the polish remover dried them.
Всички снимки могат да се видят в реален размер, ако се изберат с мишката.
....
All pictures are click-able for detailed view.
Posted by Nynaeve with a lot of smiles!